At-Home Blowout
A Round Brush Blowout at Home, Without the Arm Ache
The technique is smaller sections, a dryer you can control, and letting the brush do the tension. A realistic guide for the rest of us.
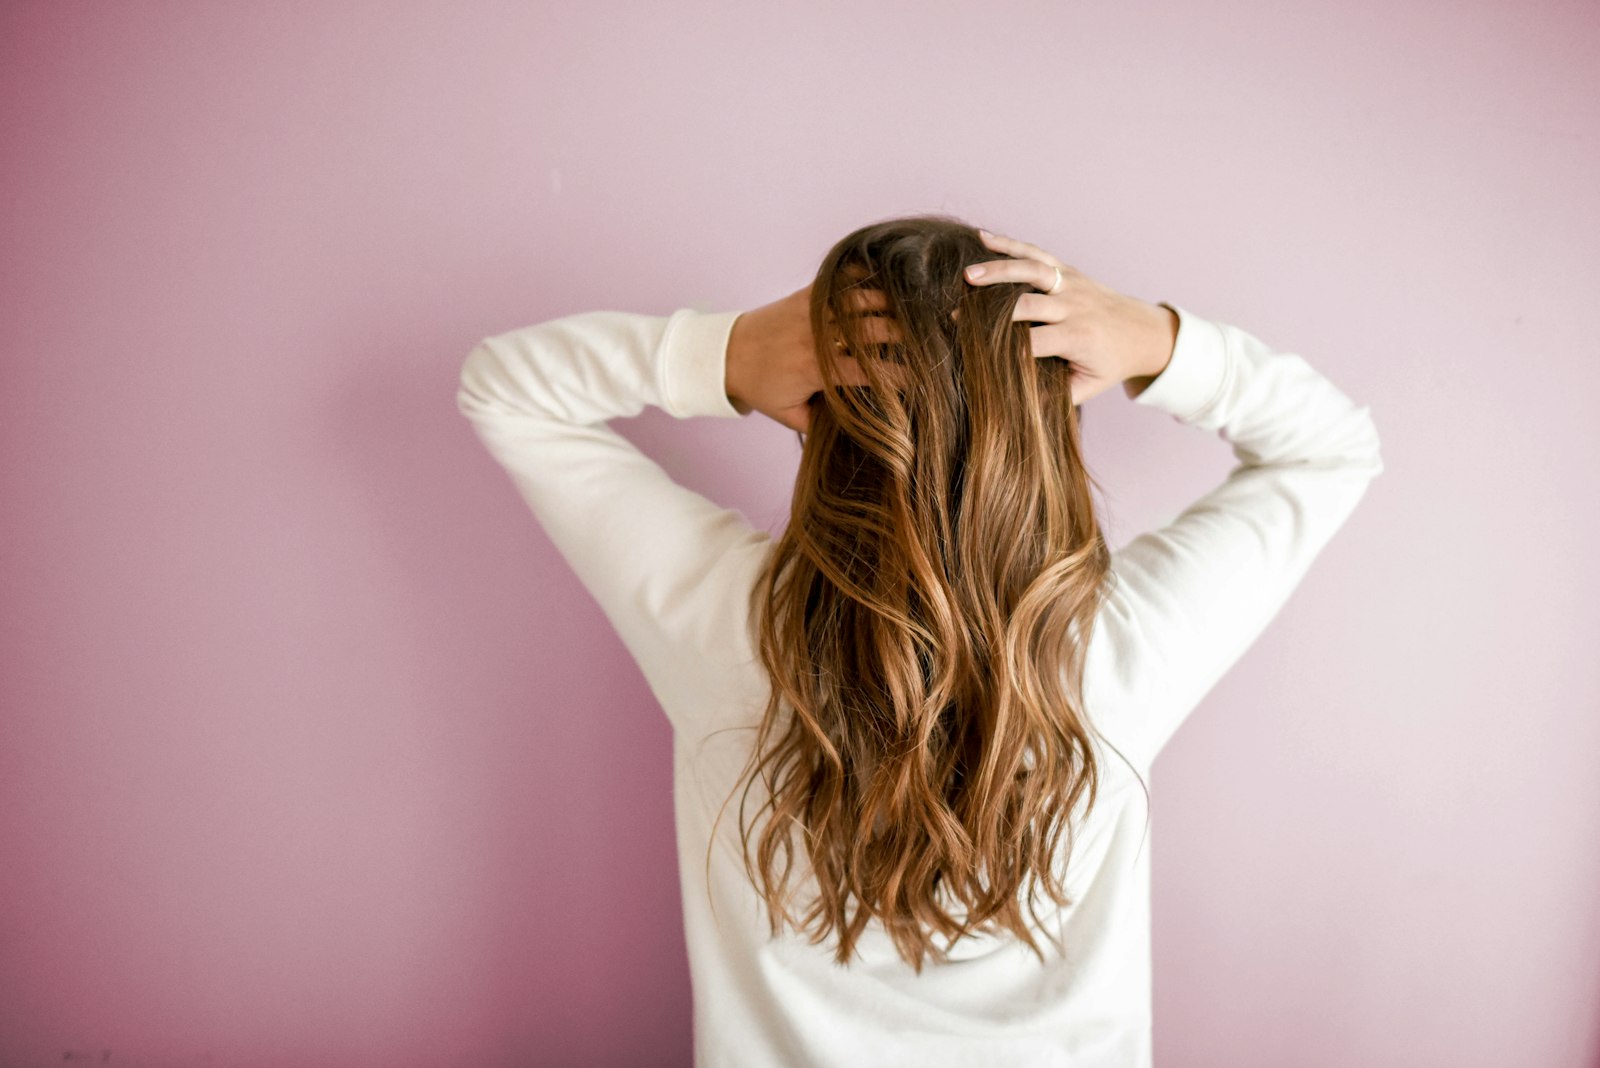
A salon blowout depends on four things: thin sections, tension, directional airflow, and hair that is completely dry when the round brush leaves it. None of those require a salon.
They require patience and a dryer you can point.
What you need
A round brush that matches your hair length. Too large and it will not grip; too small and you will be styling for an hour. One inch for short hair, 1.5 for medium, 2 for long.
Boar bristle or mixed bristle. Boar creates tension and smooths the cuticle. Pure nylon grips better on thick hair but leaves more flyaways.
A dryer with a concentrator nozzle. The nozzle is not optional — it is what makes the airflow directional.
Clips. Sectioning is the whole technique.
The sequence
1. Start on 80 percent dry hair. Blowout on soaking hair takes twice as long and produces less smoothness. Rough-dry with your head upside down until damp, not wet.
2. Section into four quadrants, then sub-section. Work in sections about an inch thick. This is the step everyone skips and the reason home blowouts fail.
3. Wrap the section around the brush before applying heat. The brush goes under the section, near the root, and you roll down to the ends. Tension comes from the wrap, not from pulling.
4. Point the nozzle down the hair shaft. Airflow follows the cuticle direction, which is what produces shine. Pointing up roughs the cuticle.
5. Hold each section until fully dry, then hit it with cool. The cool shot sets the shape. Skip it and the style collapses.
6. Do not touch until the whole head is done. Handling warm hair breaks the set.
The arm ache problem
The reason home blowouts hurt is that people hold the dryer in a raised, static position for twenty minutes.
Three fixes:
- Dry the back first, while your arms are fresh.
- Use a stand or a lighter dryer. A 1 lb dryer versus a 1.5 lb one is the difference between finishing and quitting.
- Work in smaller time blocks. Do the front, rest, do the back. The result does not depend on continuous motion.
For volume at the root
The single most effective trick: dry the roots in the opposite direction to how they fall. Part on the opposite side, blast the root, then flip back. The root lifts and holds.
Velcro rollers set during the cooling phase add more, if you have them.
For smooth, straight finishes
Use a paddle brush instead of a round one, and keep the nozzle pointed down. Round brushes create bend; if you want straight, a round brush works against you.
What to skip
The cold shot at the start. It does nothing.
Product applied to soaking hair. Dilutes and distributes unevenly. Apply to damp hair.
Blow-drying until bone dry with high heat. Finish each section on medium, then cool.
Realistic expectations
A salon blowout lasts three to four days because of tension and product layering. A home blowout lasts one to two days, and that is not a failure of technique — it is the difference between a professional finishing routine and doing it yourself on a Tuesday.
Bottom line
Thin sections, wrap before heating, point down, finish cool, do not touch. The brush and dryer matter far less than those five habits.
Links on this page go to retailer search results — check brush diameter and bristle type on the listing before buying.
Tested Glow may earn a commission from links on this page. No brand reviewed this article.
Frequently asked
What brush size should I use?
One inch for short hair and root lift, 1.5 inches for medium lengths, 2 inches for volume on long hair. Too large a brush cannot grip the section; too small takes forever.
Do I need a salon dryer?
No. A dryer with a concentrator nozzle and adjustable speed is enough. The technique matters more than the tool.
Why does my blowout fall flat by midday?
Usually insufficient tension while drying, or hair that was not fully dry when you finished. Hair set in moisture will revert.